Monday, March 10, 2014

RAINBOW Fun for St. Patrick's Day

Here on the east coast, the winter has definitely been long. Students in our area missed nearly 3 weeks of school due to snow, ice, wind—you name it. That’s why I am especially looking forward to St. Patrick’s Day this year. The holiday doesn’t always attract much attention. However, with the sea of green from a St. Patty's Parade and the rainbows that signal the end of a storm, St. Patrick’s Day seems to be the perfect holiday to usher in a spring-thinking state of mind.

The post for today deals with the wonders of a rainbow and a quick list of activities that you can use to reinforce math skills as well as color identification.
So, print the printables and have some rainbow fun.

RAINBOW STICKS
This printable is great for teaching color concepts, ordering of sizes, and non-standard measurement (How many red strips long is the table?)

Suggestion: Print the color sticks on card stock. If you decide to use these to teach fact families, cut off the white end of each stick.
RAINBOW BRICK COUNTING STICKS
 
This printable is great for teaching addition basic facts, comparisons, and matching.
Suggestion: Print the color sticks on card stock. If you decide to use these to teach fact families, cut off the white end of each stick to more easily align each stick.

RAINBOW ADDITION
 
Create your own rainbow with pipe cleaners or wax-coated yarn to demonstrate differences in diameter.


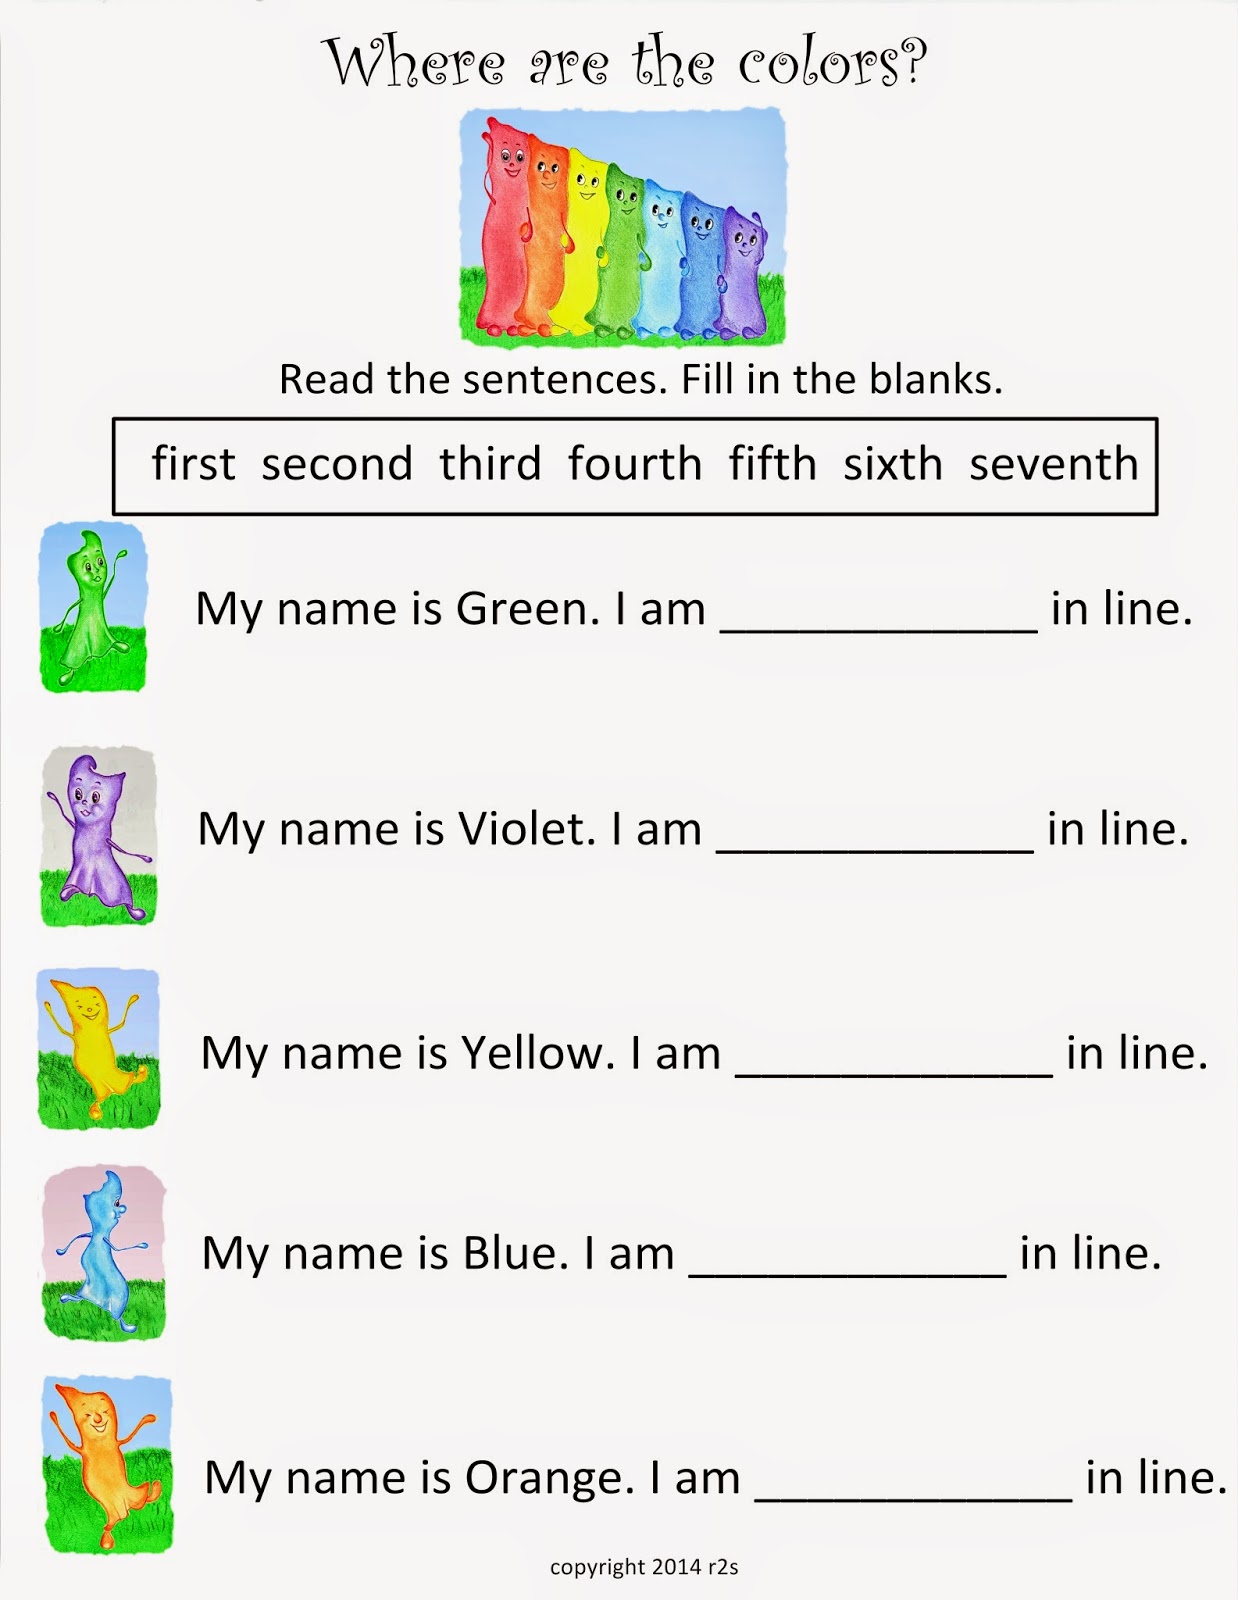
If you are looking for a fun story that teaches colors, positional words, and the concept of teamwork to the kiddos, check out the link below to my latest story for children ages 3 through 6.


http://www.amazon.com/When-Violet-was-Blue-Troehler/dp/149612958X/ref=sr_1_1?ie=UTF8&qid=1398776065&sr=8-1&keywords=when+violet+was+blue
Link to Book and eBook on Amazon.com

Most importantly, have some RAINBOW FUN.
Happy St. Patrick’s Day!

This post was shared on the following blog. Please check them out:

The Kennedy Adventures dot Com


Monday, February 10, 2014

How Can You Teach RATIOs with Snow?

Winter definitely continues to grasp many areas of North America. And, just like my family, I am certain that your family is eager for blustery spring winds to blow away those pesky snow clouds.
Hopefully, it won’t be too long before the light and fluffy snowflakes will be replaced by an ample supply of raindrops—the perfect way to wash away the gray of winter.
This anticipation of spring is a great opportunity to provide not only a science lesson but also a fun way to demonstrate the concept of ratios. By using the relationship between snowflake density and raindrop density (i.e. the Snow Water Equivalent), the kiddos can practice using ratios, skip counting, and multiplication.
Why not go outside, scoop up a bucket of fresh fallen snow, and have some winter-spring transition fun.
HOW CAN WE USE THE SNOW WATER EQUIVALENT TO TEACH RATIOS?
“IT’S A RATIO.”
“HORATIO WHO?”
Every time I hear the term ratio, I recall the scene where Opie and Andy Taylor discuss ratios. Opie, most likely in the first grade, does not understand the term. In fact, many children in K-2 have difficulty grasping the concept. Add this confusion to the concept of comparing snowfall amounts with rainfall amounts, and you have a recipe for a flood of misunderstanding.
This activity addresses both concepts in a fun yet scientific manner. Finish it off with a snow cone treat and your children are bound to forever remember that it takes a lot of snow to equal an inch of rainfall!
ACTIVITY DESCRIPTION: Children will observe changes in density by melting snow. They will then use the melted snow to determine the ratio of rain to snow. Children will use that information to predict how much rainfall there would be if their area received rain instead of snow.
MATERIALS:
Fresh snow (or shaved ice if no snow is available-results will vary)
Clear plastic cup
Clock and timer
Printouts of raindrops and snowflakes
Camera (optional)
INSTRUCTIONS:
1. Prior to the activity, fill the plastic cup with either snow or shaved ice. Show the cup to your children.
 
 
Explain that when snow melts into water, the density (a measure of how compact an object is) will change.
Ask: When this snow melts, how much water will there be in the cup?
2. Place the cup on flat surface and take a photo of it.
3. Record the time that the observation begins and set the timer for 30 minutes.
4. When 30 minutes have passed, look at the snow and record any changes. Take a photo. Set the timer for 30 minutes.
 
 
5. Repeat step 4 until the snow has melted.
6. When the snow is melted compare the children’s predictions with the actual amount of liquid in the cup.
Ask: How long did it take for the snow to melt? Why is there less spaced filled in the cup? What could change the rate of melting? (Ex: placing the cup in the sun, in front of a fan, etc.)
EXPLANATION:
When snowflakes combine with other snowflakes, there is air between each one. When the snowflakes melt, air is released, causing the water contained in the snowflakes to take up less space. The snow and the liquid have the same mass (stuff), but have different density.
 
7. Use the printouts of the snowflakes and raindrops to represent the ratio of inches of snow to the corresponding inches of rain, as shown.


8. Discuss the differences that could happen if the snowfall fell on a different day. For example, when temperatures rise, snowflakes have a greater density. Therefore, the ratio of snowfall to rainfall would change.
9. Complete the lesson by making snow cones. Remind the children that while their snow cone cups may appear full, there is very little water inside.
EXTENSION ACTIVITIES:
1. Completion of the snow melting portion of this activity provides an opportunity to reinforce telling time to the hour and half hour. Children in K-1 can use the photographs created by the experiment to sequence the melting process and matching the corresponding time to the correct image.
2. This lesson also provides and excellent opportunity to practice skip counting and multiplication. Print multiple copies of the raindrop and snowflake printables to use with both concepts. It is also possible to begin basic algebra concepts by replacing the snowflake with S and the raindrop with R.

Monday, February 3, 2014

It's February and Yes~Winter is Still Here!


The crisp and often snowy days of February are perfect days to stay inside and curl up with a good book or two.
 
Below are some great suggestions for Snow Day reading for the kiddos in preschool through second grade.
 
Snowmen at Night by Caralyn Buehner and Mark Buehner
This book provides a delightful story about the hilarious antics of a group of adventure-seeking snowmen.
 
Tracks in the Snow by Wong Herbert Yee
Told in rhyme, this story is about discovery and imagination. Does a hippo really like the snow?
The Biggest Snowman Ever by Steven Kroll and Jeni Bassett
This easy-to-read story reinforces the importance of teamwork.
 
Sometimes Snow Falls in the Summer by Deb Troehler
This tale is a gentle story of a granddaughter’s visit with her grandmother where anything is possible..
The Snowy Day by Ezra Jack Keats
This timeless story tells of the adventure of a little boy that discovers the wonders of snow.
Snowflake Bentley by Jacqueline Briggs Martin and Mary Azarian
This story follows the life of the man who not only explored the beauty in nature but also shared his findings with the world.
 

Friday, January 31, 2014

January Delays and Thinking Twice


January was definitely a month full of roadblocks—in the form of mountains of snow (well, more like 4” which seems to paralyze our area. Schools are STILL closed today), the typical and A-typical winter virus that spread throughout our household (in the form of Influenza type A), and mountains of other commitments (I won’t go into that one).
Therefore, a project that is very dear to my heart has been delayed, moved to the bottom of the list, and is, sadly, incomplete with the passing of my own personal deadline—January 31.
I hope that February is the month I complete the project. In the meantime, below is a  video teaser of the project-to-come.
 

Thursday, January 23, 2014

Snow! Snow! Let the Winds Blow!

We all know the weather patterns—hot in summer and cold in winter? Or, is that correct? This year alone we’ve had temperatures in the 80s with torrential rains followed by bone chilling, pipe bursting temperatures so cold that schools and businesses were closed. These extreme weather swings took place in the month of January. Climate change is more than likely the cause of our now-familiar roller coaster weather patterns.
Why not tap into these changes in weather patterns to create a snowman glyph?
Today’s post includes instructions and printables to use with your children to practice recording and interpreting data, create and interpret bar graphs, and improve fine motor skills. As an added bonus, I am including a  set of snowflake-themed printables for you to use with the kiddos. So, when the winds are howling and the snow is blowing, you can stay inside warm and snug and still enjoy the snowflakes.

HOW WOULD YOU BUILD YOUR SNOWMAN GLYPH? 
OBJECTIVE: Demonstrate the ability to read and interpret glyphs.
*Please note that younger children may need assistance with cutting the snowman components.
MATERIALS NEEDED
Printouts provided with this lesson*
Scissors and glue


INSTRUCTIONS
1. Prior to the activity, prepare a snowman glyph with your personal choices for the snowman components. Show your completed snowman to the children, along with the key.
Ask: Looking at the snowman that I made and the key, what do you think my favorite candy is? What type of shoes do I like to wear?
Explain that the children are going to create their own snowmen, based on their favorite things.
2. Show the key to the children. Discuss the options to use for each category.
3. Give the snowman printout and the component printouts to the children, instructing them to build their own snowman based on their choices.
4. When the glyphs are completed, children will share their choices to reinforce reading the glyph with the Snowman Glyph Key.
Snowmen and a Snow Fort
Use the completed glyphs to build a bar graph showing the total number of children who chose each component, as shown.
MODIFICATION: Children create a glyph based upon their favorite season. Create a bar or pictograph of the results.


Tuesday, January 7, 2014

NATIONAL RUBBER DUCK DAY is JANUARY 13


National Rubber Duck Day—January 13 

Link to Free PDF Printable

What is yellow, squishy, easy-to-grasp, and provides an instant smile? A rubber ducky, of course!
For most children, bath time or backyard pool time experiences are enhanced by the simple plastic (not rubber) cartoon version of the famous water fowl. From the ever-familiar Ernie and his tiny rubber ducky to the giant smile maker created by Dutch artist Florentijn Hofman, rubber ducks have a way of creating positive memories.
January 13 is National Rubber Duck Day. Why not celebrate by bringing a dozen or so of these cute creatures into your classroom to create positive educational memories for the little ones in your life?
Below is a list of Rubber Duck-themed Activities to use to celebrate National Rubber Duck Day with the fanfare it deserves:
1. Conduct an internet exploration of the story of what happened to 28,000* rubber ducks in 1992.**
A brief summary of the event:
In 1992, a cargo ship from China was transporting a container with 28,000 plastic bath toys—ducks, frogs, etc, to the United States. The container fell overboard, spilling the plastic animals into the Pacific Ocean. Since that time, the rubber ducks have appeared all across the globe. Many of them, however, continue to be trapped in the North Pacific Gyre, a vortex of water that circulates between western North America and Asia.

Link to story

*Many online resources state that there were 28,000 ducks. However, upon further research, I have found that ducks were only part of the set of plastic animals that were lost at sea.

**This is a great opportunity to discuss how myths are often generated from facts. Encourage children to establish credibility of the source. For example, one site listed the ducks as originating from Japan. They began their journey in China, not Japan.

2. Using the images provided with this resource or a set of rubber ducks and a world map, practice identifying the continents and countries where the ducks have been spotted. Children can match the international ducks to the region or use the ducks to trace the path the ducks took to reach their destination. List the oceans that the ducks traversed to get to their final locations.
This is another opportunity to demonstrate the connection between oceans.
3. Conduct an internet search to identify locations where the giant rubber duck created by Florentijn Hofman has been displayed. Mark those locations on a globe or map.

Link to Florentijn Hofman's Website


*There are some great videos of this giant duck. Most recently, the giant rubber duck was in Pittsburgh, Pennsylvania.
4. Use the information obtained with the internet search in number 3 to compare the size of the ducks children play with to the giant rubber duck. This activity can be easily modified for different levels. For example, estimate how many small rubber ducks it would take to equal the height of the giant rubber duck. For younger children, provide the estimate and practice rote counting. For older children, measure the ducks and calculate the answer.
5. Give a duck to each of your children. Ask them to track the path the duck takes to run an errand. For example, how many left and right turns does it take to go from home to the grocery store? Instead of listing oceans, list the street names where their duck traveled.

6. Read 10 Little Rubber Ducks by Eric Carle. This book addresses the following concepts:
·        Counting
·        Ordinals
·        Positional words
·        Compass directions
·        Comparing items (living ducks with rubber ducks)
·        Target audience: Pre-K-1
7. Provide each child with a rubber duck to write a story about where that duck could travel.
8. For older children, connect the great rubber duck disaster to environmental awareness. Conduct an internet search to learn of other items that are trapped in the North Pacific Gyre. Create a list of ways to reduce the impact humans make on the world in which we live.
9. Use the rubber ducks or printables to practice math concepts.


This post was shared on the following sites. Please check them out:

Unschooling Momma dot Com

The Cornerstone For Teachers dot Com

ABC Creative Learning dot Com


Saturday, January 4, 2014

A New Year is Here~TIME TO GET YOUR DUCKS IN A ROW


It’s official! The New Year has arrived. Across the country and around the world, January 1st signals the official end of the holiday season and a return to a noses to the grindstone time of year—in the workplace and in the classroom. The start of a new year, fresh with energy, is the perfect time to conduct a mini unit utilizing the new calendar.
Below you will find some of the many ways that a calendar can be used to teach, reinforce, and review essential skills. Many of these suggestions can be easily modified to meet age and ability levels. They can be used as center activities, small group review, or as a homework activity that involves the entire family.
Activities:

1. Begin the unit with a quick review of the months of the year in order. Enlarge and print the monthly calendar to use for this activity

2. Provide each child a copy of the calendar to use for the following activities.

  • Guide the children in finding and coloring the block on the calendar that corresponds with their birthday.
  • Play the “Standing Up for my Birthday” counting game where the children orally point and count each day of each month. When the month and date match the child’s birthday, they are to stand up and shout. “Hey! That’s my birthday!”
  • Take turns reading the months of the year and having each child with a birthday that falls in the month stand up. Record those numbers on a page printed with the months listed in order.
  • Use the bar graph template (provided) to create a bar graph based on the number of birthdays that occur each month.
  • Practice left-to-right tracking and the concept of rows by pointing and reading the days of the week or dates for a particular week of each month.
  • Practice the concept of columns verses rows by finding and reading the column in each month that begins with 7. This is great to provide a foundation for multiplication and skip counting.
  • Locate and color the dates for important holidays.
  • As a homework assignment, use the calendars to locate and color the block that corresponds to each family member. Remind children to use a different color for each one.
  • Create a bar graph with the number of months that have the EXACT number of days—28, 29*, 30, 31. (See silly duck joke)
  • Cut the calendars out and laminate to use in a learning center. Create task cards to place in chronological order, sort by season, sort by total number of days, etc.


*The calendars are also great additions to the morning warm-up folder for your children. They can be used to mark each day that has passed, identify weekend days, record the daily high/low temperatures, or provide sticker incentives and rewards. The possibilities are endless.